Sharpening a chainsaw used to depend heavily on how steady and accurate you were with your hands.
But today, you can sharpen your chainsaw with a file guide, a tool that makes the whole process more accurate, consistent, and easier.
In this post, we’ll give you some background on what file guides are and how they are different than the traditional files. Then we’ll dive into step-by-step instructions you can use to sharpen your chainsaw with a file guide.
Let’s get to it!
What is a File Guide?
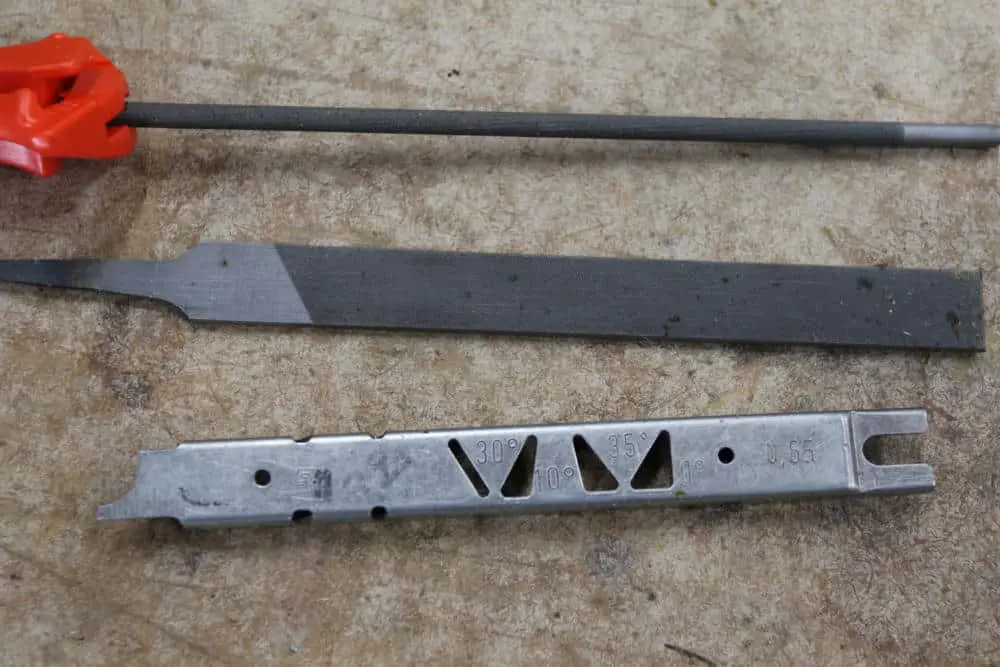
A file guide is an all-in-one tool that performs all of the functions of a round file, flat file, and depth gauge, which are the 3 tools traditionally used to file a chainsaw.
You can still sharpen a chainsaw successfully with the traditional filing tools. However, there are some common problems with the traditional filing approach. Such as…
Free-hand sharpening makes it difficult to get an accurate angle (30 degrees for most chainsaws). In addition, since you have to reposition the angle for each link, traditional files often result in inconsistently sharpened chains.
Using a manual round and square file also takes longer because you have to sharpen each cutter link, and then go all the way back around to sharpen the guide links (you can learn about the parts of a chainsaw chain here).
With a file guide, all of these problems are either eliminated or reduced. Learning to sharpen your chainsaw yourself can save you money in the long run. For more info about that topic check out our other post.
Continue to the next section to learn how to successfully sharpen your chainsaw using a file guide.
How to Sharpen with a File Guide
1. Get a File Guide with the Right Pitch

The first thing you need to do before you start sharpening your chainsaw with a file guide is make sure that you have the right size file guide for your specific chain.
When choosing a file guide, the main thing you need to consider is the pitch of your chainsaw chain. You can learn more about pitch in this article, but essentially it’s a measure of the distance between a chainsaw chain’s links.
You can find the pitch for your chainsaw chain in a few places, here are the most common:
- The information box on the side of your chainsaw bar
- The original packaging for your chain (if you still have it)
- Using the number markings on the chain
- If all else fails, you can estimate it by dividing the space between 3 chain rivets by 2.
Once you’ve found the pitch of your chain, you just need to find the corresponding file size. There are some general ranges for file sizes, but exceptions are pretty common.
As a result, the best way to identify the file size you need is to check the chain manufacturer’s website (like this table for Stihl), or your chainsaw’s user manual. I know this sounds like a hassle, but it is the best approach.
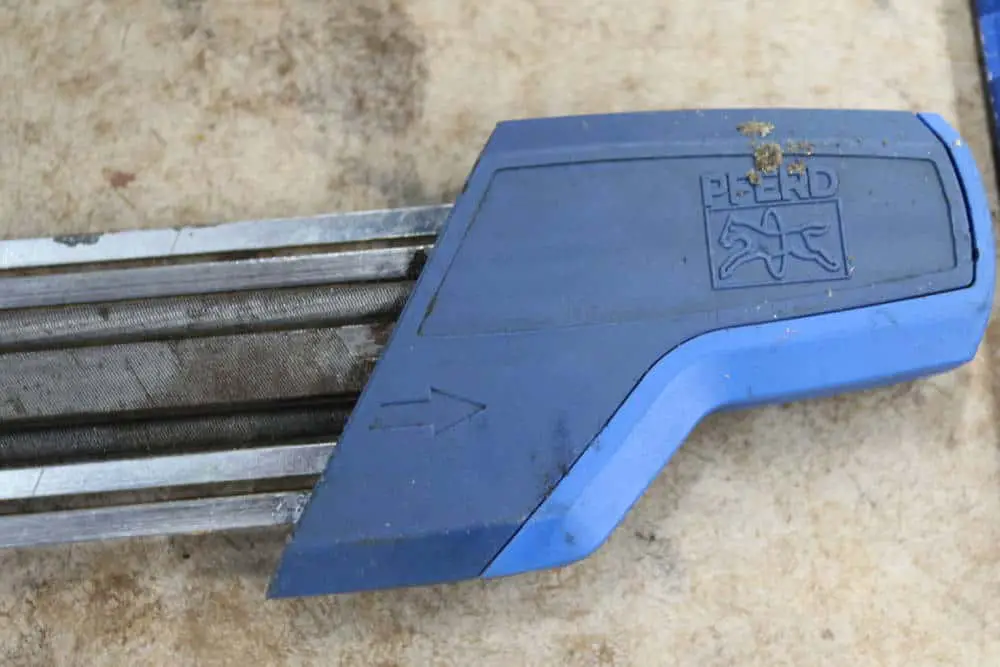
Once you know the file size you need, it’s easy to order a file guide of the right size. We use Pferd and Stihl brand file guides, which you can find here and here on Amazon (FYI: I get commissions from Amazon sales).
2. Wear Gloves
Even though it needs to be sharpened, your chainsaw chain will still be sharp and you should wear a hearty pair of work gloves to make sure you don’t cut yourself.
If you’ve been running the chainsaw, the chain and bar could also be quite hot, which is another way that a good pair of gloves can protect you.
The next thing you need to do is find the “break” in the chain.
3. Start at the “Break” in the Chain
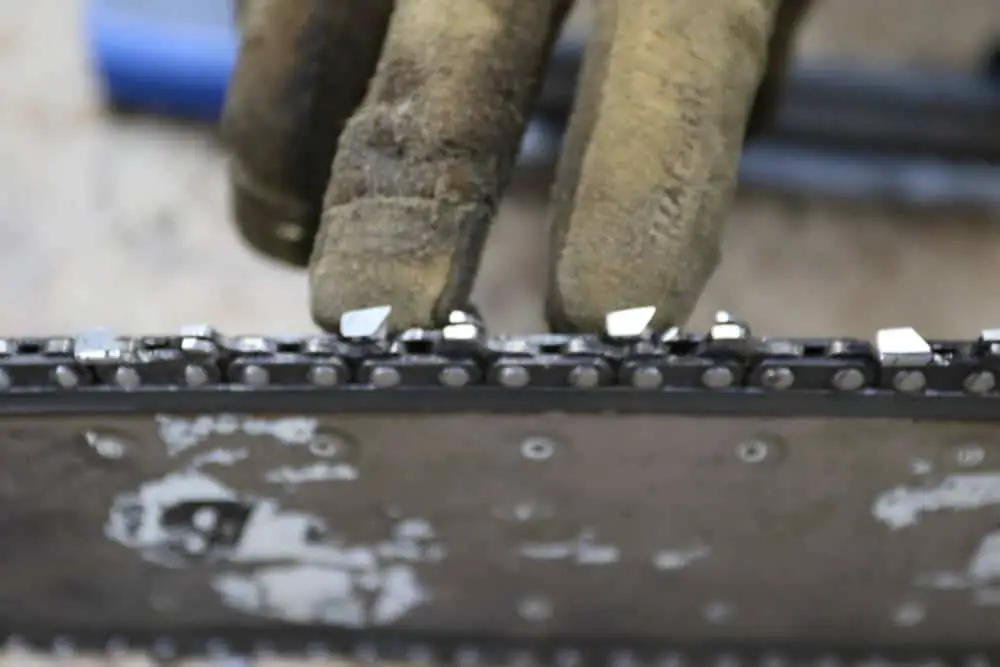
All chainsaw chains have a “break”. For different chains, it will be indicated in different ways, but it’s always there.
For the chainsaw we’re using for this tutorial, there are two cutter links that are facing the same direction (see photo above). Usually, the cutter links alternate directions, so for this chain we know we’ve found the break.
The break in the chain may also be marked by simply having additional space between cutter links. Or, it might be indicated with a colored mark on the chain.
Finding the break is important because this gives you a clear start-point. Without the chain break, it would be much more difficult to distinguish one section of the chain from another, and you might end up going in circles.
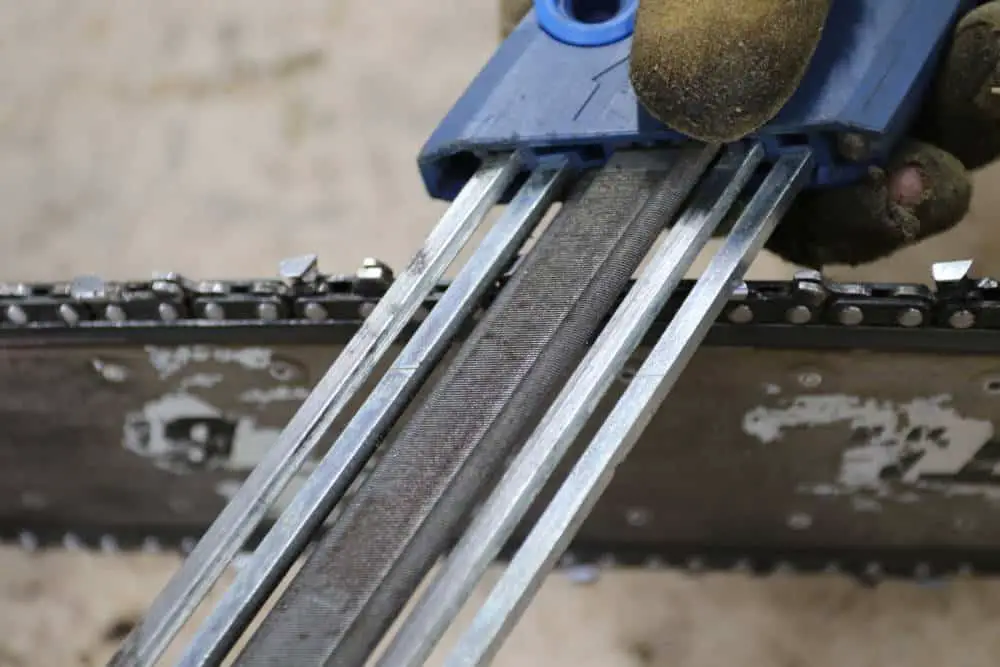
4. Point the Arrow Towards You
File guides have arrows on them, which indicate the direction you should pull the tool.
So, before you begin sharpening your chain, make sure the little arrow on the file guide is pointing towards you.
5. Align the Angle with the File Guide

Before sharpening the chain, you also need to align the angle of your file guide with the chain.
Most chainsaw chains (including the one shown in our photos) should be sharpened at a 30-degree angle.
To help you do this accurately, the handle of the file guide is set at a 30-degree angle. So, if you align the end of the blue handle so that it’s parallel to the chain, then you’ll be working at a 30-degree angle.
6. Sharpen on the Pull
Once you’re lined up to 30-degrees, and you have the arrow pointing towards you, you can begin doing the actual sharpening.
It’s important to only sharpen your chain on pull-strokes, and not on push strokes. So, you should apply pressure when pulling, and ease-up when you push the file guide back to your start position.
The number of times that you sharpen each link will depend on how worn/damaged your chain is. If your chain is relatively well maintained, then you’ll usually be good with 2-4 strokes.
If you’re not sure how to tell if your chain is sharp enough, there’s two tests in this article that you can use to figure it out.
Just make sure that whatever number of strokes you decide to use, that you do it consistently for each link. Sharpening a chain unevenly is one of the things that can cause it to pull to one direction while sawing.
7. Sharpen One Side at a Time
To sharpen a full chain, you should begin by sharpening all of the cutter links that are facing one direction.
Once you’ve finished that side, you should rotate the entire chainsaw (or move to the other side), so that you can sharpen all of the cutter links that face the other direction.
After sharpening both sides of the chain, you’re all done! And you should have a fine-tuned, and evenly sharpened chain.
Related Questions
What Angle Do You Sharpen a Chainsaw?
The angle to sharpen a chainsaw chain is typically 30 degrees, however the exact angle will vary based on the specific chain model, and you may also want to change the angle for different applications.
How Many Times Can You Sharpen a Chainsaw Chain?
The number of times you can sharpen your chainsaw chain is dependent on two primary factors: the amount of wear your chain incurs, and the amount of metal that is removed from each sharpening. Even with frequent use, a chainsaw chain is capable of lasting for 5+ years.
How Do You Know What Size File to Use to Sharpen a Chainsaw?
The best way to determine the file size to use for sharpening a chainsaw chain is to check the manufacturer’s guidelines. There are some general ranges for file sizes, but exceptions are common. As a result, the manufacturer’s website or your chainsaw user manual are the best sources of information.